
Fingerbot
The washing machine is one of those deferable devices that can be perfectly used in energy management systems. They relatively consume a lot of power (2 - 2.4 kW) and can be scheduled. Most newer washing machines have built-in Wi-Fi and can be controlled via an API. My parents still having an old prehistoric washing machine in a rising smart home takes for different measures:
The Fingerbot
Hardware
You can buy these devices for cheap in different communication with different radios: Zigbee, Wi-Fi or Bluetooth. But if you have a 3d printer and the hardware lying around, it's more fun to design one yourself. The following hardware is used:
- ESP32-C3 Super Mini (but any other esp based board is fine)
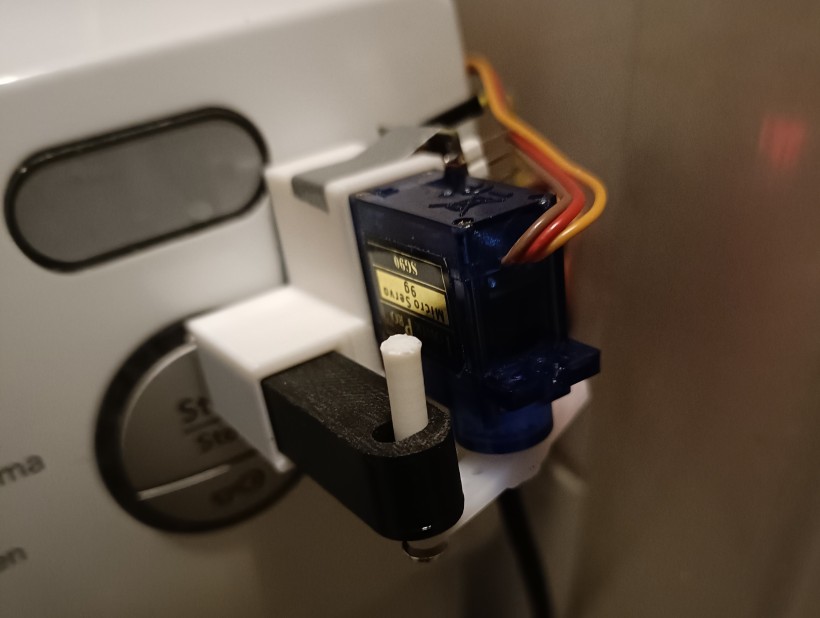
- SG90 Micro Servo
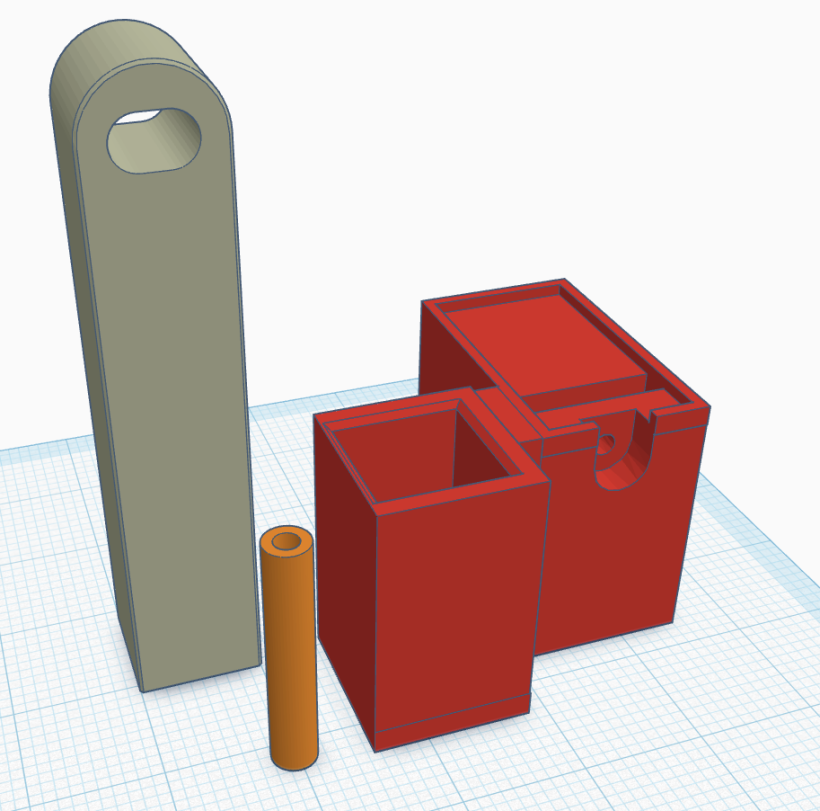
- Custom 3D printed components (printed in PLA)
I modified this design: https://www.printables.com/model/829294-fingerbot-v1
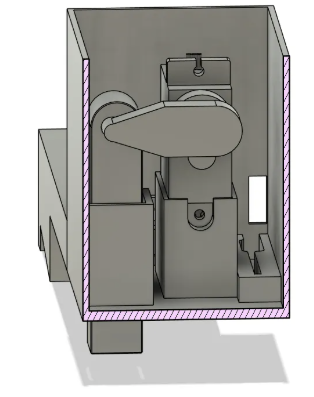
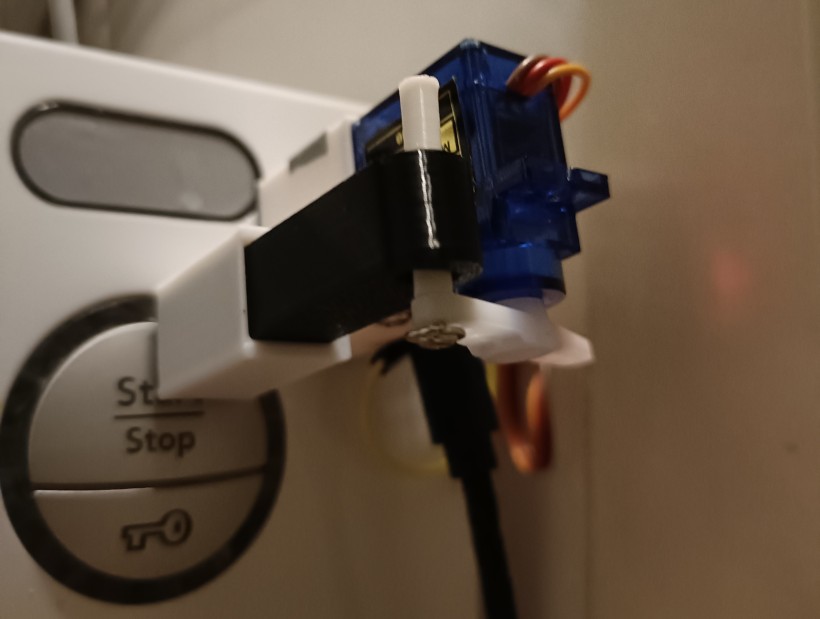
I stripped down the casing to create a smaller and open version. This way, there is more room around the button of the washing machine, so it's still convenient to use the washing machine manually.
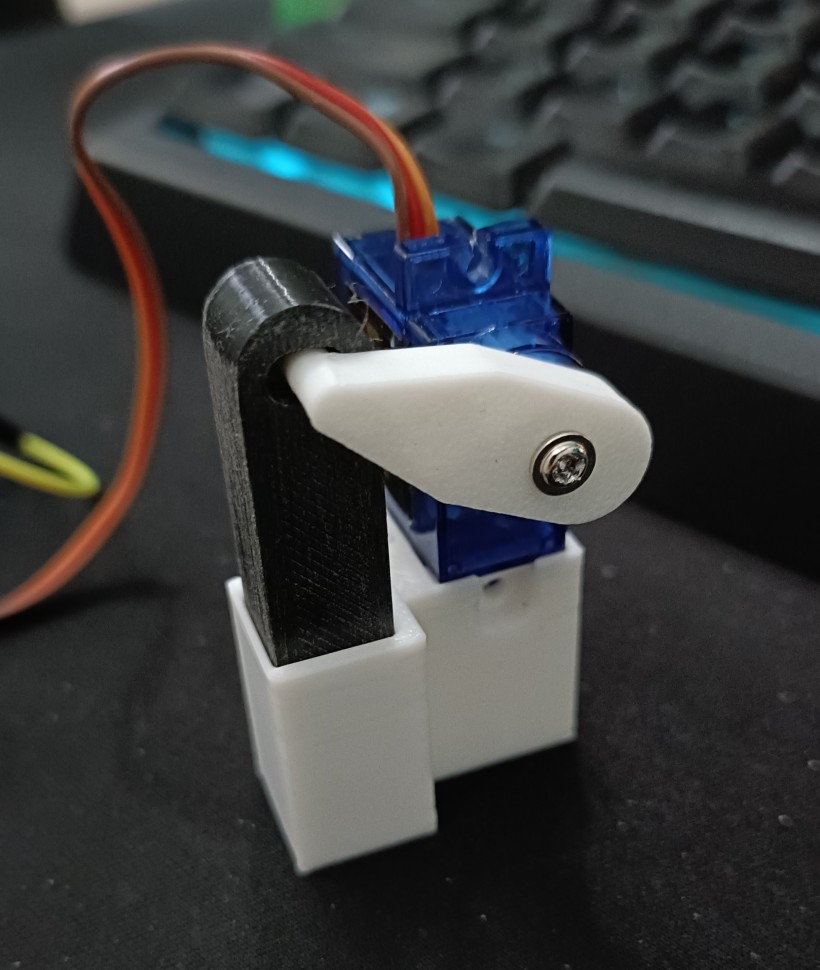
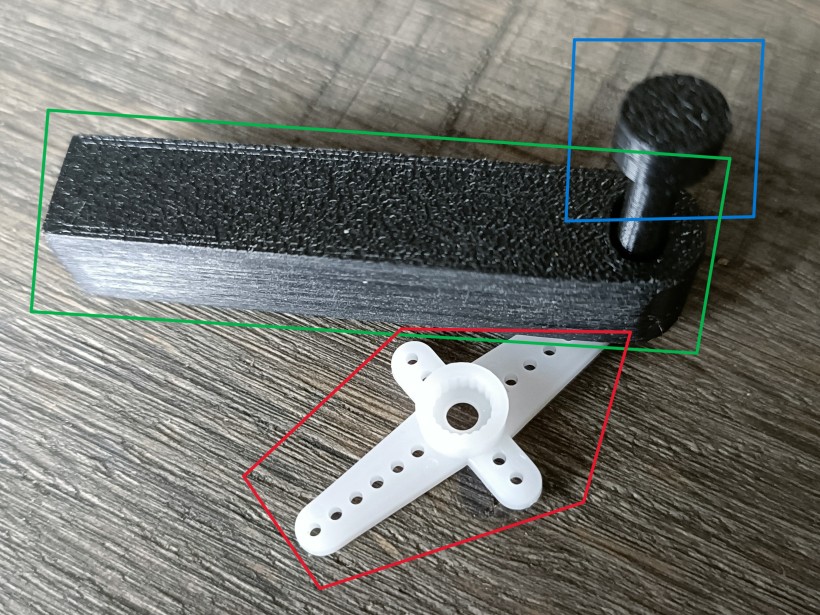
After a couple of designs for the lever and the pin, I noticed the servo was slipping and could not generate enough torque to push the washing machine button. The standard lever that came with the fingerbot v1 design required a 0.2mm nozzle for printing the tiny teeths that interlock the lever with the servo. I only have the 0.4mm nozzle for the Bambulab A1.
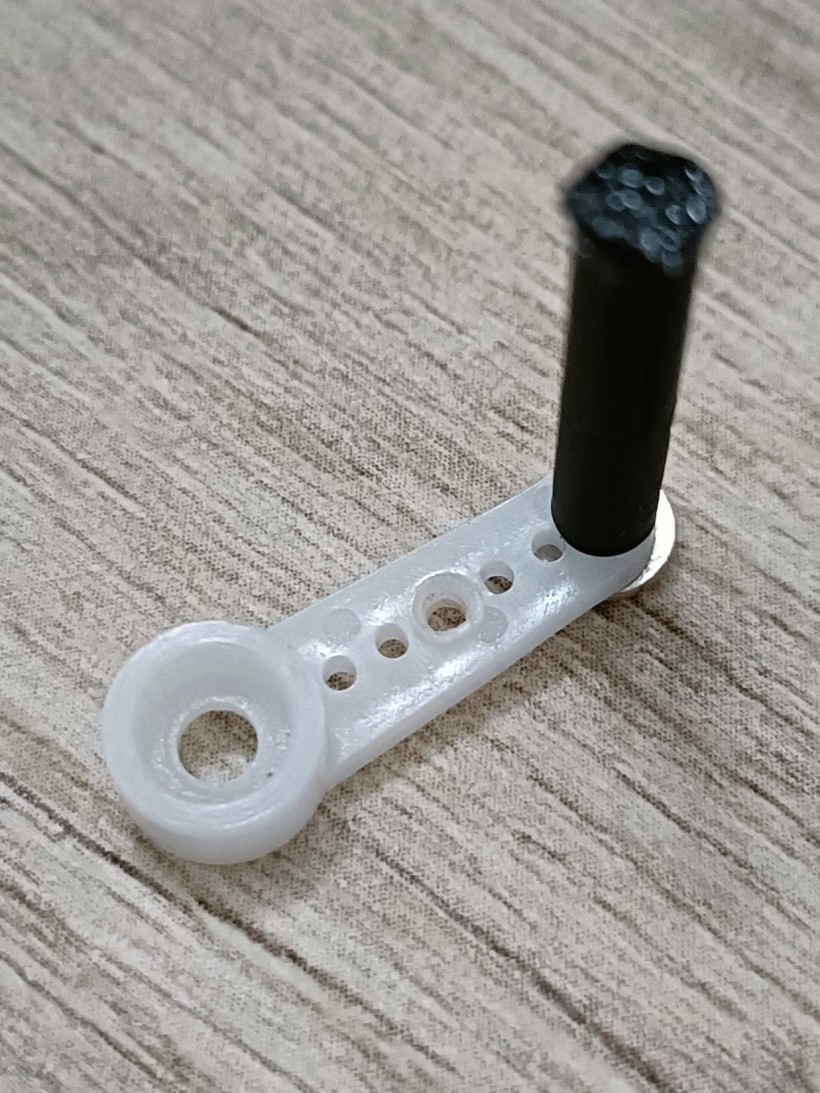
In the end, I used the lever that comes with the servo. This way, the servo has a good grip on the lever and does not slip. The pin is connected to the lever with a screw.
ESPHome configuration
esphome:
  name: "fingerbot"
  friendly_name: Fingerbot
  min_version: 2025.11.0
  name_add_mac_suffix: false

esp32:
  variant: esp32c3
  framework:
    type: esp-idf

# Enable logging
logger:

# Enable Home Assistant API
api:

# Allow Over-The-Air updates
ota:
- platform: esphome

wifi:
  ssid: !secret wifi_ssid
  password: !secret wifi_password

output:
  - platform: ledc
    pin: GPIO0
    frequency: 50 Hz
    id: d0_output

servo:
  - id: d0_servo
    output: d0_output

number:
  - platform: template
    name: Servo Control
    min_value: -100
    initial_value: 0
    max_value: 100
    step: 1
    optimistic: true
    set_action:
      then:
        - servo.write:
            id: d0_servo
            level: !lambda 'return x / 100.0;'
Home Assistant configuration
I added a Helper Entity in Home Assistant with entity id: input_boolean.fingerbot_button With this button, I made an automation that controls the servo of the device created by the ESPHome integration in Home Assistant.
alias: Move fingerbot on button press
description: ""
triggers:
  - trigger: state
    entity_id:
      - input_boolean.fingerbot_button
    to:
      - "on"
conditions: []
actions:
  - device_id: 2eedea3a65b570cb8b365299706ebec4
    domain: number
    entity_id: 8499d08a703764c8e89b705431969ac2
    type: set_value
    metadata:
      secondary: false
    value: 40
  - delay:
      hours: 0
      minutes: 0
      seconds: 0
      milliseconds: 500
  - device_id: 2eedea3a65b570cb8b365299706ebec4
    domain: number
    entity_id: 8499d08a703764c8e89b705431969ac2
    type: set_value
    metadata:
      secondary: false
    value: -10
  - action: input_boolean.turn_off
    target:
      entity_id: input_boolean.fingerbot_button
    data: {}
mode: single
When the power is reapplied to the servo, it might go to a state that it should not be in, so I use an extra automation that sets the servo angle to a defaults state.
alias: Fingerbot default value when turn on
description: ""
triggers:
  - trigger: state
    entity_id:
      - number.fingerbot_servo_control
    from:
      - unavailable
    to: null
conditions: []
actions:
  - device_id: 2eedea3a65b570cb8b365299706ebec4
    domain: number
    entity_id: 8499d08a703764c8e89b705431969ac2
    type: set_value
    metadata:
      secondary: false
    value: -10
mode: single